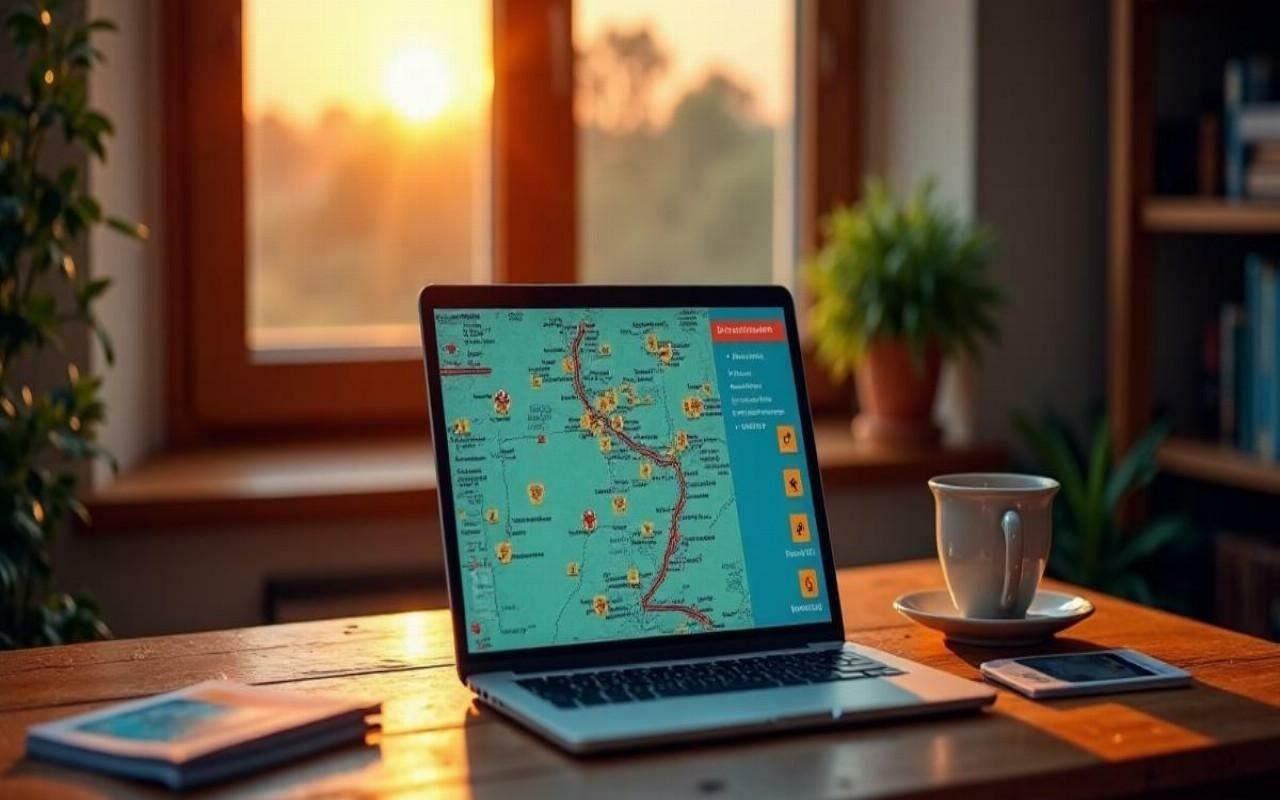
Upon returning from my van trip across Europe, I felt the need to move beyond static clichés to tell the story of my stops in a lively way. I then designed, from A to Z, an interactive map reflecting not only the itinerary but also the stops, striking landscapes, and unexpected encounters. Between technical experimentation and challenges as an amateur geomatician, this mapping adventure pushed me to master new tools, organize my GPS tracks, and dive into coding. In this article, I share each step of my process, from data collection to WordPress integration, including the choice of JavaScript libraries and optimization tips for smooth rendering.
Sommaire
In Brief
🌍 GPS data collected via smartphone and dedicated trackers, cleaned in QGIS to eliminate erroneous points and structure the final GeoJSON file.
🛠️ Choice of Leaflet for its lightweight nature and compatibility with OpenStreetMap, export of layers from QGIS, then customization of popups in HTML/CSS.
💻 Integration on WordPress via a Leaflet plugin and a custom shortcode, with tile caching and responsive management for a smooth mobile experience.
🎯 Result: an interactive map embedding photos, descriptions, and filters, offering visitors a true digital travel journal.
1. Why Create an Interactive Map of My Road Trip?
One might think a simple photo gallery is enough to share a journey, yet a dynamic map carries the embedded emotion much further. The itinerary becomes a red thread, each geolocated point turns into a milestone rich in context. Beyond a linear narrative, one navigates freely, zooms in on a picturesque village, discovers the altitude, the distance before the next stop. It’s an immersive storytelling mode, polished by interactivity, which introduces a more direct link between reader and traveler. For my part, I also wanted to analyze my routes: cumulative driving time, average speed, altitude thresholds crossed. All these figures, visualized on a map, take on additional meaning.
The Benefits of a Dynamic Map
- Instant visualization of the complete route and possible detours.
- Access to data (distance, time, altitude) by clicking on a point or section.
- Ability to filter stops (beaches, mountains, cities).
- Ease of sharing and real-time updating.
2. Collecting and Preparing Geographic Data
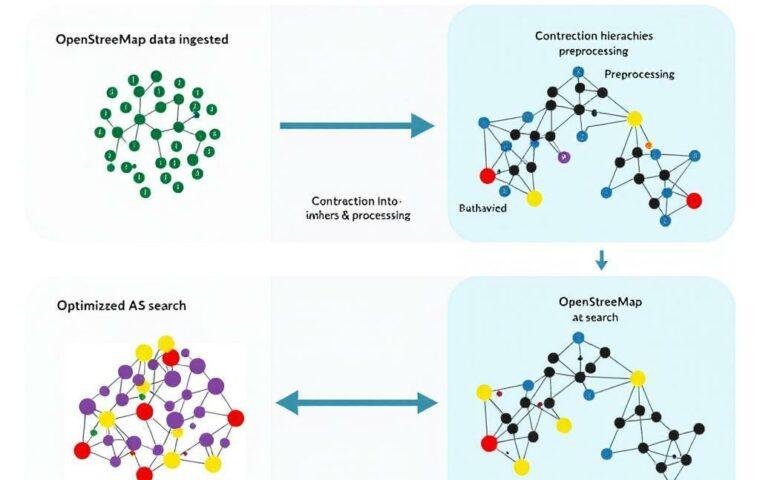
Before any mapping, I gathered my data: GPS apps on smartphones, portable trackers, and exports from automated logs. Ultimately, the most reliable source was the tracker, capable of recording every 5 seconds without missing points. I exported these tracks in GPX format, then imported everything into QGIS for an initial review. Quickly, some sequences appeared odd due to interference or geodetic errors: ultra-high points, teleportations… Cleaning then became essential.
Choice of GPS Sources
Between mobile apps, a Garmin tracker, and manual exports from Google Maps, I opted for a combination of the first two. The smartphone complements mobility when without a tracker, while the latter captures continuously even in poorly covered areas. Each source generates a different file (GPX or CSV). I converted all datasets to GeoJSON to standardize processing.
Cleaning and Structuring
Importing a raw file into QGIS is a bit like unpacking a poorly labeled package: you have to sort, discard anomalies, and segment tracks by stages. I used the “Remove Duplicate Features” tool and a light SQL query to eliminate points where speed > 200 km/h or instantaneous distance > 500 m. Then, I merged segments by date to obtain a single continuous track. Finally, I added attributes: stage name, date, expected duration, average altitude, then exported everything as GeoJSON.
3. Selection of Tools and Technologies
Starting the creation of an interactive map means choosing between turnkey solutions and more modular libraries. For my project, I favored an open stack: QGIS locally to manage data, Leaflet on the web side for display. This setup gave me full control over design, performance, and licensing (OpenStreetMap’s ODbL). Of course, one can opt for Mapbox, Google My Maps, or even ArcGIS Online, but each has cost or lock-in constraints.
| Tool | Type | Advantages | Disadvantages |
|---|---|---|---|
| Leaflet | JavaScript Library | Lightweight, open-source, extensible | No integrated tiles, requires a tile server |
| Mapbox GL JS | Proprietary API | Vector maps, advanced styles | Increasing costs depending on usage |
| Google My Maps | Online Service | Quick setup, hosting included | Limited customization, dependency on GCP |
| QGIS | Desktop Software | Powerful data processing, varied plugins | No native web display |
Why Leaflet + OpenStreetMap
Leaflet stands out for its low memory footprint and active community. Paired with OpenStreetMap, it avoids licensing costs and offers worldwide coverage constantly updated by volunteer contributors. CSS flexibility allows adapting the appearance of layers, markers, and tooltips. For a road trip, you can create several layers: main route, bike detours, points of interest… Each layer remains independently viewable.
4. From desktop to web: generating interactive code
The next step was to transform my GeoJSON into an interactive map. I first loaded the file into a simple HTML template: including the Leaflet stylesheet, the <div id="map"></div> tag, and initializing the JS script. A few lines are enough to center the view and inject the layer:
 var map = L.map('map').setView([48.8566, 2.3522], 5);
 L.tileLayer('https://{s}.tile.openstreetmap.org/{z}/{x}/{y}.png', {
 maxZoom: 18,
 attribution: '© OpenStreetMap contributors'
 }).addTo(map);
 L.geoJSON(maTrace, { style: { color: '#FF5733', weight: 4 } }).addTo(map);
In a few moments, my orange trace appeared on the OSM background. I then added point markers, configured HTML popups to display a photo and a short descriptive text of the stage. Using customized SVG icons added a graphic touch without weighing down the page.
Customizing popups
Rather than simple text, I designed a mini-template including a thumbnail, the name of the stage, and a link to a detailed blog article. The code looks like this:
 function onEachFeature(feature, layer) {
 if (feature.properties && feature.properties.popupContent) {
 layer.bindPopup(feature.properties.popupContent);
 }
 }
 L.geoJSON(geojsonData, { onEachFeature: onEachFeature }).addTo(map);
This transformed each waypoint into an access point to a richer story, a natural transition between the map and the blog.
5. Integration on WordPress
Integrating this map on my WordPress site required two imperatives: facilitating updates and maintaining optimal performance. I installed the “Leaflet Map” plugin which offers a minimalist shortcode. By passing it the URL of my GeoJSON and some parameters, I got:
[leaflet-map geojson_url="https://monsite.com/roadtrip.geojson" height="500px" zoom="5"]
For styling, I added my own CSS in the child theme, adjusting the icon sizes and the color of the trace. Thanks to HTTP caching and a CDN, loading is almost instantaneous even in mobile mode. Any changes to the map are simply done by replacing the GeoJSON on the server, without touching the code.
6. Optimizing the user experience
A map is good. A map that loads quickly and is pleasant to use is better. So I:
- Enabled lazy loading of the map on scroll.
- Limited the number of markers visible simultaneously via clustering (Leaflet.markercluster plugin).
- Added a search control (Leaflet Control Geocoder plugin) to find a specific village or site.
- Tested mobile compatibility with touch-adapted controls.
By also adjusting the resolution of images in popups and compressing my GeoJSON files via Tippecanoe, I reduced network load by nearly 60%.
7. Reflection on the experience and lessons learned
Joking aside, this project reminded me that geomatics, like any digital tinkering, requires as much rigor as imagination. I learned to juggle formats, diagnose slowdowns, and enhance a travel story through the map. Today, I am already thinking of adding a “weather data” layer synchronized with each stage, or offering a voting system on points of interest.
Possible Improvements
- Integrate past weather conditions via a weather API.
- Allow readers to submit their own tracks or annotations.
- Add a statistics module (speed, elevation gain) in real time.
FAQ
What is the first step to create an interactive map?
Start by gathering your GPS tracks and converting them to GeoJSON to standardize your data. Software like QGIS makes cleaning and structuring easier.
Which tools do you recommend for a project without advanced technical knowledge?
Google My Maps offers an intuitive no-code interface, while Leaflet, despite a small learning curve, remains accessible and well documented.
How to optimize the performance of a map loaded on WordPress?
Enable lazy loading, compress your GeoJSON files, use a CDN for tiles, and limit markers by clustering nearby points.
Can I embed images and links in popups?
Yes, by using Leaflet’s bindPopup method, you can inject a mini HTML template with thumbnails and links to your articles or galleries.