How to read an IGN topographic map: scale, contour lines, and symbols explained
Learn how to read an IGN topographic map: scale, contour lines, symbols, orientation, calculation of distances and elevation changes, with concrete examples.
🧭 The IGN 1:25,000 map remains the most practical for walking, camping, or preparing a precise outing.
📏 At this scale, 1 cm on the map = 250 m on the ground; distances are calculated quickly, but never as the crow flies by default.
⛰️ The contour lines tell the slope: the closer they are, the steeper the relief.
🗺️ The legend should be reread with every map, because a symbol always makes sense in its context.
How to Read an IGN Topographic Map Without Mistakes?
The right method is to read the map from the most general to the most precise: first the scale, then the orientation, then the relief, and finally the legend. This progression avoids the classic mistake of looking at a trail before understanding the terrain it crosses.
On an IGN topographic map, everything is visually hierarchized. The major landmarks help build a mental image of the area; the details confirm or correct this first reading. It is this logic that turns a map into a decision-making tool, not just an illustration.
An IGN map does not show the terrain as you see it: it translates it into useful information.
Always start by locating the title block, the scale, the edition date, and the covered area. This check takes a few seconds but avoids confusion between multiple sheets, or between a map that is too general and one detailed enough to walk safely.
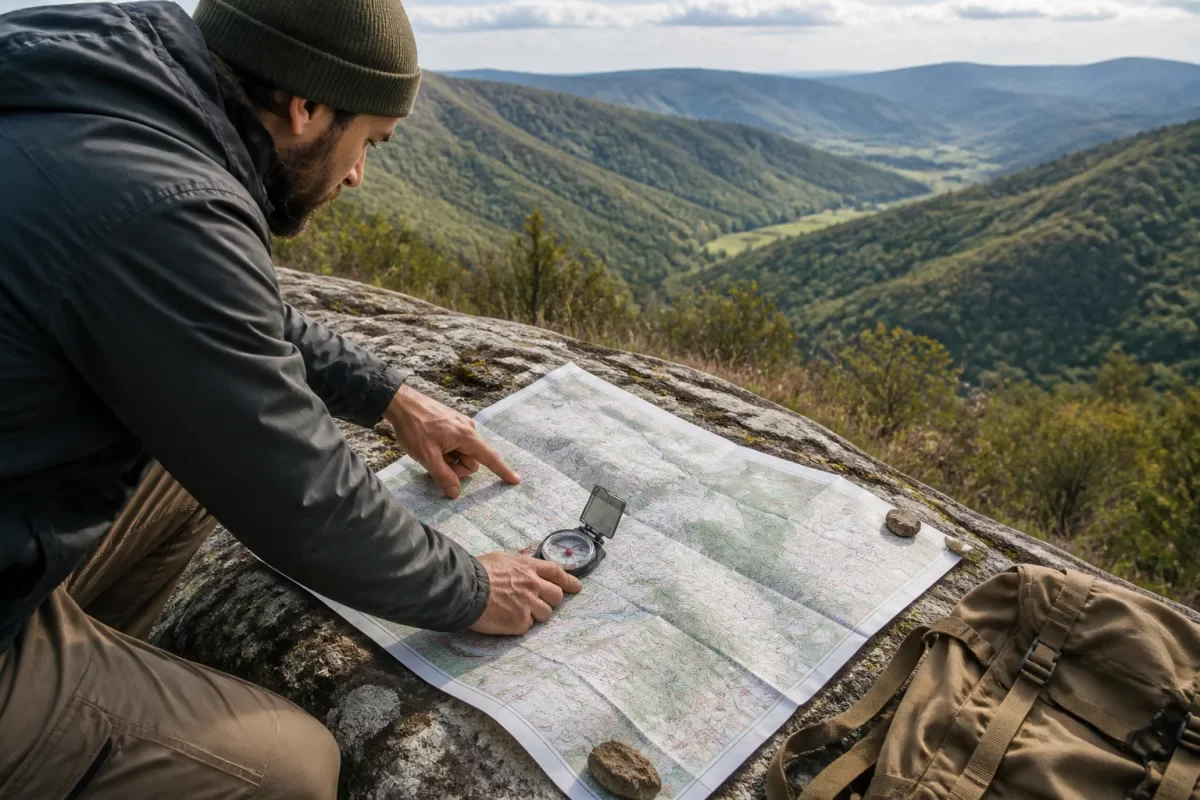
An IGN map is oriented by aligning its printed north with the north of the terrain. The compass is used to find the correct axis, then to rotate the map until the visible landmarks on the terrain and those on the paper indicate the same direction.
You must also distinguish geographic north and magnetic north. The difference remains small in France, but it exists, and it varies depending on the area and the year. For a simple reading, remember the following idea: the compass gives a magnetic direction, the map describes a geographic frame.
On the ground, this nuance becomes important as soon as you want to take a bearing or check a heading. For a short walk, the difference is often negligible; for a crossing, dense fog, or an exposed ridge, it is better to really consider it.
The map gives the sense of the landscape, the compass gives it orientation.
The most robust technique is to align the map lines with a clear terrain landmark: path, ridge, forest road, power line, or lake shore. You then read less “an image” and more a set of directions, which greatly reduces heading errors.
Which Scale to Choose on an IGN Map?
For hiking, the 1:25,000 scale is generally the most useful because it shows paths, relief, and terrain details with enough precision. A smaller scale map, like 1:50,000, provides more overview but less detail for following a trail.
At the 1:25,000 scale, 1 cm on the map corresponds to 250 m on the ground. This allows quick conversion of a distance, but only if you measure the actual route’s path, not a theoretical straight line. In the mountains, detours count as much as distance.
The right reflex is to choose the scale according to the use. For a marked hike, the 1:25,000 scale is the most comfortable. To prepare a wider route, a forest area, or a connection between valleys, a less detailed map can complement the reading but should not replace the detailed map on the ground.
The simple rule is as follows: the larger the scale, the more detailed the map. This is why the Top25 remains the reference for walkers, mountain bikers, and all those who need a precise reading of the paths.
Contour lines connect points at the same altitude. They describe the relief without a 3D image: a regular curve, a tight curve, or a closed loop do not mean the same thing. It is often the most useful part of an IGN topographic map, and the most misunderstood.
In practice, the closer the lines are together, the steeper the slope; the more spaced out they are, the gentler the terrain. This logic remains reliable for reading an ascent, a descent, or a ridge passage, even if the relief becomes complex. The map translates the shape of the terrain, not just its altitude.
On many IGN maps, a thicker line regularly appears to help count intervals. This is called a master or index contour line. This line marks intermediate altitudes and facilitates the quick estimation of the total elevation gain, especially when reading a long climb.
Closed shapes also deserve special attention. A loop without hachures often indicates a summit; hachures oriented inward signal a depression. In a valley, the lines often form a V whose point points upstream; on a ridge, they curve differently and draw the crest line.
In other words, the relief is not read only with altitude numbers. You have to look at the overall shape of the lines, their closeness, their direction, and their closure. It is this reading that allows you to predict whether a passage will be quick, difficult, or exposed.
The spacing of contour lines is the true language of the slope.
What do the symbols and colors in the legend mean?
The legend of an IGN map translates the landscape into simple signs: blue for water, green for vegetation, brown for relief, black for many built elements, and specific colors for certain routes. The key is not to memorize a list but to understand what each family of symbols tells.
Before leaving, reread the legend: water, paths, forests, and marked passages do not occupy the same place on the map.
Blue identifies rivers, lakes, springs, and wetlands; green signals wooded areas, dense vegetation zones, or certain orchards; black often indicates constructions, walls, railways, place names, and boundaries. The nuance between fine symbols and thick symbols counts as much as the color itself.
Marked paths and routes use very useful codes for hiking. GR generally appear in white and red, GRP in yellow and red, and PR in yellow. This logic never exempts you from reading the legend, as the scale and map series can modify the visual presentation of some features.
Another often overlooked point concerns singular points: refuge, parking, chapel, viewpoint, tricky passage, water point. These point symbols are valuable because they serve as mental landmarks during the walk. You then no longer read just a route line but a series of concrete markers.
How to calculate a distance or elevation gain on an IGN map?
To calculate a distance, you need to measure the actual path on the map, then convert using the scale. At 1:25,000, 1 cm = 250 m. For elevation gain, count the contour lines crossed and multiply by the contour interval indicated on the map, most often 10 m on hiking maps.
Simple example: 4 cm on a 1:25,000 map represents 1 km in reality; the elevation is then read by the contour lines crossed.
Let’s take a concrete example. If your route measures 6 cm on a 1:25,000 map, the straight-line distance is 1.5 km. But if the trail winds on the slope, you need to measure the entire path, not just the shortest segment. In the mountains, the curve of the path almost always lengthens the actual distance.
For elevation, an ascent crossing six contour lines spaced 10 m apart corresponds to about 60 m of cumulative ascent, provided you start from the correct starting altitude. If the route alternates descents and climbs, the segments are added separately: positive elevation gain and negative elevation loss tell different stories.
This estimate remains useful to anticipate walking time and effort. The same horizontal distance can require much more energy depending on the slope, exposure, ground type, or number of switchbacks. That is why reading the relief should always complement reading the scale.
How to use IGN map and GPS together?
The best duo does not oppose map and GPS: it combines them. The map provides the overall view, the GPS confirms a position, and the mobile app secures quick navigation in case of doubt. However, the GPS never replaces understanding the terrain, especially when the battery runs low or the signal becomes unstable.
In practice, the map is used to prepare the route, spot escape routes, identify water points, and read the relief. The GPS then takes over to verify an intersection, a secondary summit, or a poorly visible fork. This complementarity avoids blindly following a screen without understanding what you are crossing.
If you are going out for a long time, take a paper map even when using a phone or a smartwatch. The IGN map allows maintaining a stable reading logic, independent of battery life and network. This is what still makes it the reference tool for serious outings today.
Key takeaways
🧭 Always read the IGN map in order: scale, orientation, relief, then legend.
📏 At a 1:25,000 scale, 1 cm = 250 m on the ground.
⛰️ Tight contour lines indicate a steep slope, spaced lines a gentler relief.
🗺️ Symbols change shape depending on the context, but the logic of the legend remains stable.
📡 GPS complements the IGN map; it does not replace a true reading of the terrain.